Trezor.io/start: Your Ultimate Guide to Getting Started with Trezor Wallet
In today’s digital age, securing your cryptocurrencies is more important than ever. With the rise in online threats and sophisticated hacking techniques, storing your digital assets on an exchange is no longer the safest option. This is where Trezor.io/start comes in—a trusted gateway to setting up your Trezor hardware wallet and taking full control of your crypto assets. Whether you’re new to cryptocurrency or a seasoned investor, this guide will walk you through everything you need to know about getting started with Trezor.
What Is Trezor?
Trezor is one of the most popular and secure hardware wallets for storing cryptocurrencies. Developed by SatoshiLabs, Trezor was the world’s first hardware wallet, designed to offer maximum security for managing Bitcoin and other cryptocurrencies offline. It supports hundreds of coins and tokens, including Ethereum, Litecoin, Bitcoin Cash, and ERC-20 tokens.
Unlike software wallets or online exchanges, Trezor stores your private keys offline—away from the reach of hackers. This cold storage method ensures your digital assets are safe even if your computer or mobile device is compromised.
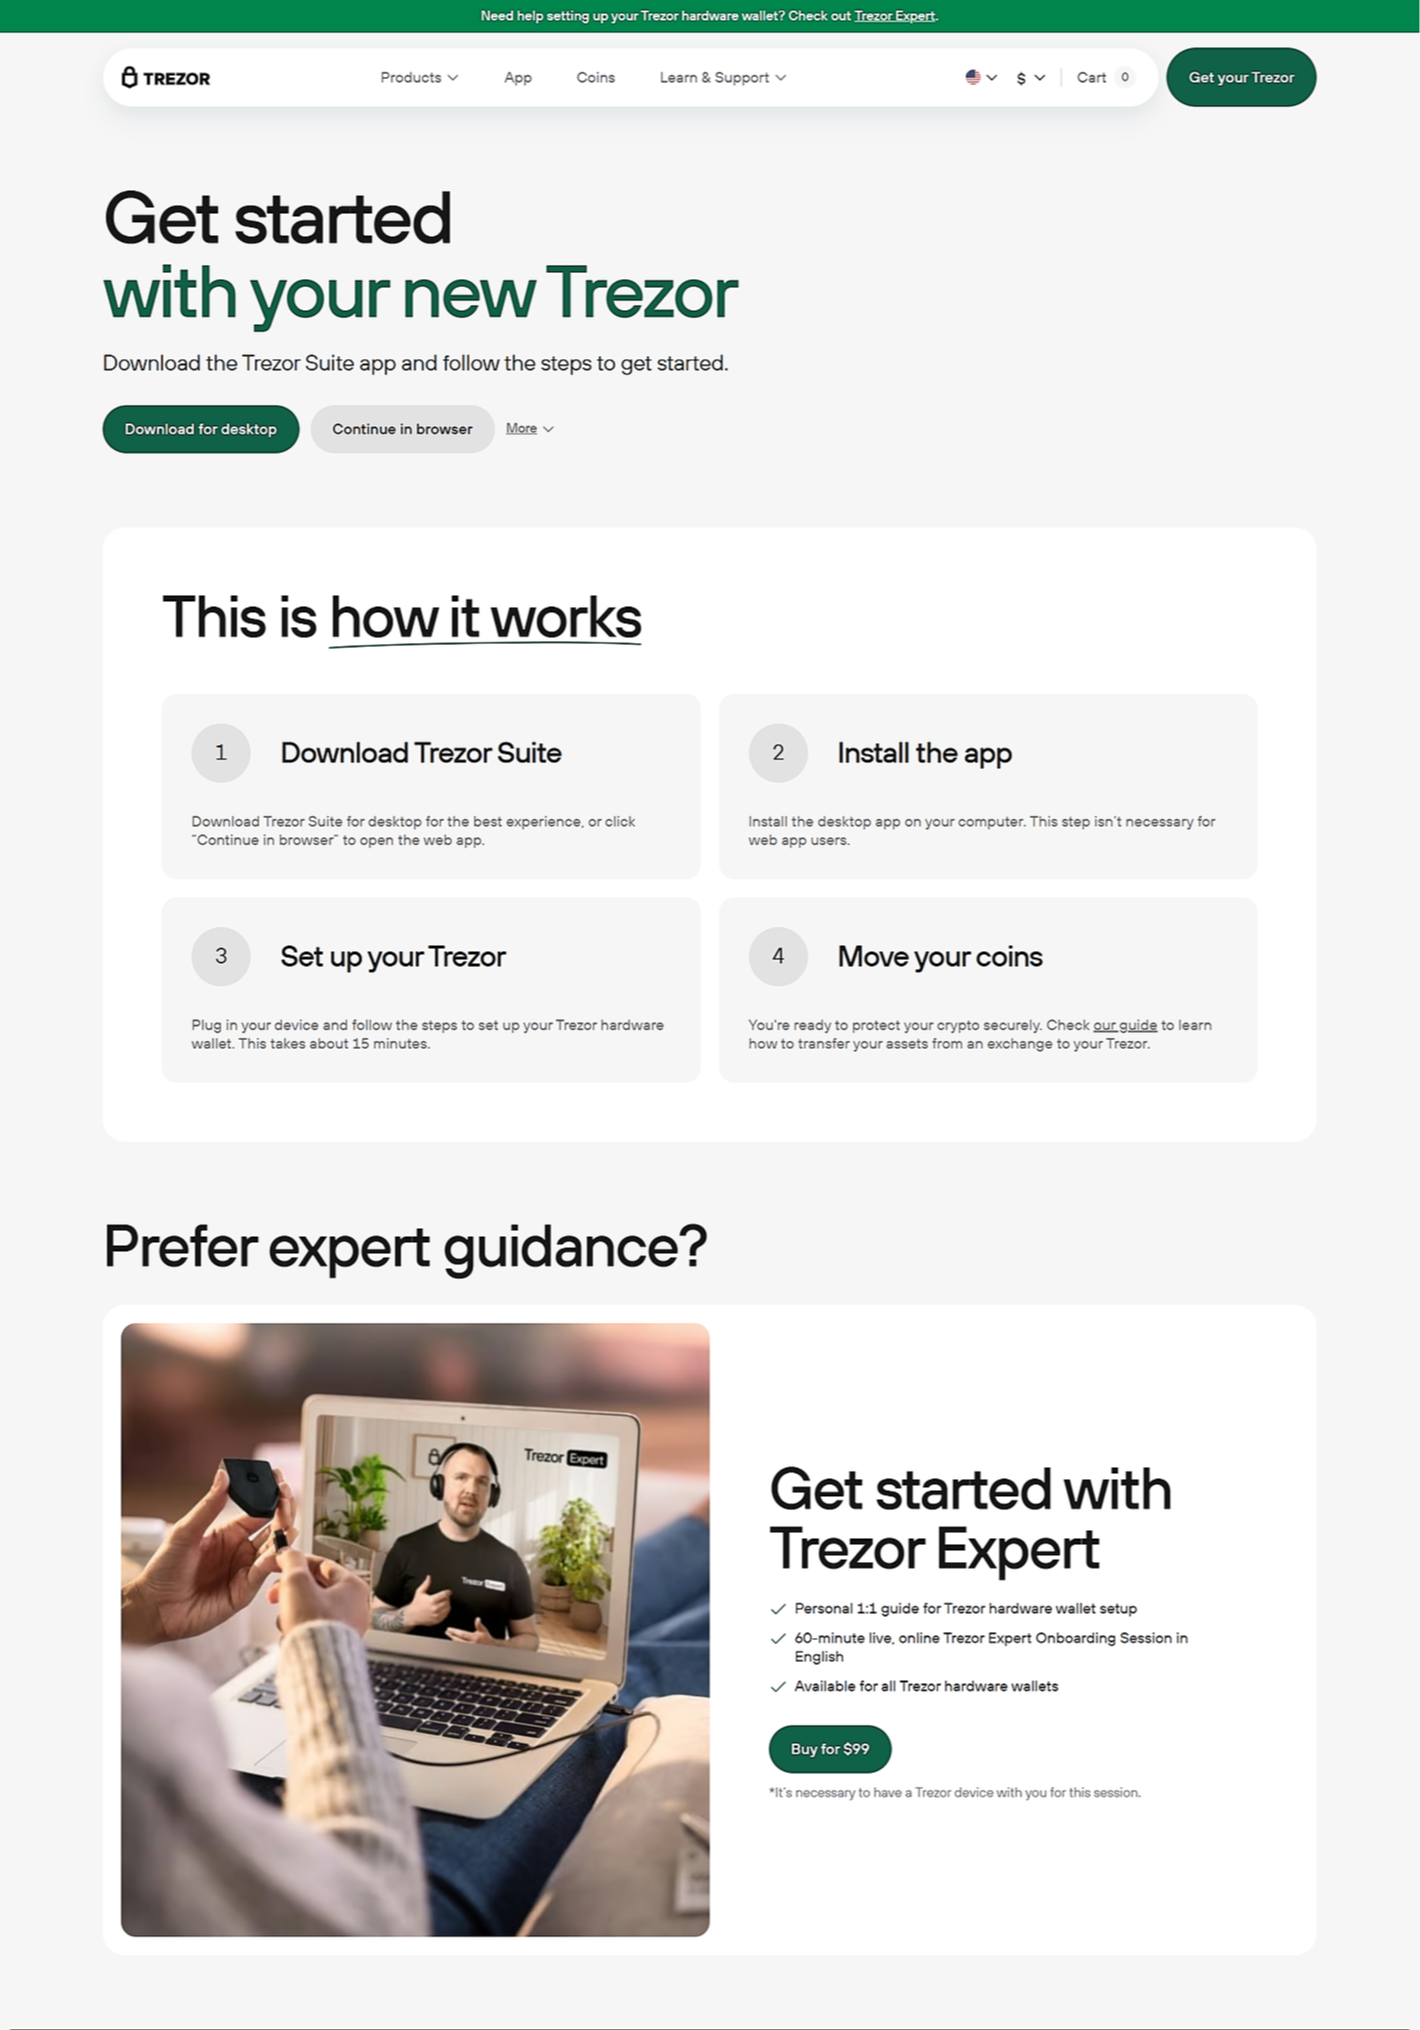
Why Visit Trezor.io/start?
The website Trezor.io/start is the official setup portal for all Trezor hardware wallets, including Trezor Model One and Trezor Model T. This portal ensures that you download the legitimate software from a trusted source, minimizing the risk of downloading malware or fake firmware.
When you visit Trezor.io/start, you’re guided step-by-step through the process of setting up your device securely, from firmware installation to wallet configuration. It’s the first and most essential step toward safeguarding your crypto.
How to Set Up Your Trezor Wallet via Trezor.io/start
Here’s a simplified step-by-step guide to getting started:
1. Unbox and Connect Your Trezor
Start by connecting your Trezor device (Model One or Model T) to your computer using the USB cable provided. Make sure the package seal is intact before unboxing to ensure it hasn’t been tampered with.
2. Visit Trezor.io/start
Open your browser and go to Trezor.io/start. Select your device model, and the website will automatically redirect you to the correct installation guide and download page.
3. Install Trezor Suite
Trezor.io/start will prompt you to download Trezor Suite, the official desktop application for managing your hardware wallet. It’s available for Windows, macOS, and Linux. This software is crucial for interacting with your wallet, checking balances, sending/receiving coins, and updating firmware.
4. Initialize Your Device
Once the Trezor Suite is installed, the app will ask you to install the latest firmware on your device. After that, you can proceed to create a new wallet or restore an existing one using a recovery seed.
5. Backup Your Recovery Seed
During setup, Trezor will generate a 12 to 24-word recovery seed. Write this seed down and store it somewhere safe and offline. This seed is your only way to recover your wallet in case you lose or damage the device. Never share it or store it digitally.
6. Set a PIN
You’ll then be prompted to set a PIN code to secure your device further. This PIN prevents unauthorized access to your Trezor.
7. Start Using Your Wallet
Once everything is set up, you can start sending, receiving, and managing your cryptocurrencies securely using Trezor Suite.
Benefits of Using Trezor with Trezor.io/start
- Top-tier Security: Keeps your private keys offline and away from hackers.
- User-Friendly Interface: Trezor Suite offers an intuitive dashboard for all your crypto needs.
- Multi-Currency Support: Supports 1000+ coins and tokens.
- Regular Updates: Firmware and software are updated frequently via Trezor.io/start.
- Open Source: Trezor’s firmware is open-source, meaning anyone can audit its code for transparency.
Final Thoughts
If you're serious about protecting your crypto, setting up a Trezor wallet is a smart decision. By visiting Trezor.io/start, you ensure that your device is initialized securely and correctly. It's a simple yet powerful step toward achieving financial sovereignty in the world of cryptocurrency.
Made in Typedream